Showing posts with label DIY. Show all posts

Monday, June 10, 2013

DIY End Table Makeover


I don't think I've ever mentioned this, but I only moved into my first apartment last September. Before that, I had spent 15 months in a house with my sister. Since she had been living there for awhile before I moved in, I never really decorated. I was in a small second bedroom that wasn't big enough to hold my queen size bed - not if I wanted to have anything else in the room, that is. So for the first couple months, I slept on two mattress pads folded up, until I saved enough money to purchase a futon. I had two end tables - one was my brother's, and I think the other one belonged to my parents. Eventually my sister gave me an old desk of hers and I bought a bookshelf. And that was it. That was all my furniture.

So you can imagine how exciting it's been to move into an apartment and decorate it with my roommate, who also happens to be my cousin. You've already seen the tray that I decorated for the living room and the book clock that I placed in the dining area. But lately I've been thinking that my bedroom furniture could be better. Here's a breakdown of what I have in the bedroom now:

  1. Queen size bed - this thing is massive. I don't know what I was thinking when I picked it out. Oh, yes I do; I was thinking "SO GORGEOUS." And it is! But it's too big. I have a matching armoire, but it's also massive and so it can't actually fit in my room with the bed. Clearly, I was not thinking practically when I purchased these items.
  2. Desk - The desk was damaged in the move, which the movers neglected to tell me. I'll probably buy a new one at some point, but for now it's fine as is.
  3. Bookshelf - This was also damaged in the move, which the movers also neglected to tell me! A month or two after I moved in, the bookshelf actually snapped in half, with the bottom half breaking and the top half falling off. Luckily, it's right next to one of the closets, and the door was open, which caught the top part. I kept the top part.
  4. Two end tables - one from my brother and one from my parents. The one from my brother is plain brown wood, with two shelves. The one from my parents has a nice little design and a tiny drawer.

The other day I was looking at the end tables and I thought, "Wow, I hate these things." So I decided to remake them. I started with the one that has only shelves and plain wood.


You see how scratched up it is? I don't know why I didn't think of this sooner.

I really wanted to do this right, so the first thing I did was sand the top down until it was perfectly smooth.


Next, I painted it white, with Behr Premium Plus Ultra Primer & Paint. For the life of me, I cannot remember what color white I chose, so I'll check that when I get home. I gave the table two coats.

Already looking much better!


I actually did this over the course of two nights, because I started late at night, and I didn't fancy waiting for the second coat to dry so I could do the next part. So the next night I came back and flipped the table over to paint the bottom of the legs (no pictures for this, sorry). Then I taped off parts of the table in a crisscross manner. And I taped off the edges.

Supernatural is on the TV. Yay Dean!

Like all great ideas, I found this design on Pinterest - more specifically, from a great blog called Michelle's Pixie Dust.

Michelle painted her table with white spray paint and then acrylic green paint. I did mine with white interior paint and then Ceramcoat metallic gold acrylic paint. I really wanted to use green paint, but I had a hard time finding a shade I liked in a big bottle, and I didn't know how many little bottles I would need. When in doubt, always buy more than you'll need, right?
Yes, an empty soda cup is on the ground. My roommate's cat likes to play with them.


I did two coats, just like with the white paint. I waited about thirty minutes for the second coat to dry before stripping off the tape.

Ta-da!

Doesn't that look loads better? I don't know if you can tell, but there was some gold paint that made it underneath the tape, so I did a few touch-ups. Then I sprayed a clear finish over the table and let it dry some more. The next morning, I brought it into my room.


So much better!

Yes, that's the Twilight series on the bottom shelf. I do not like Twilight. I actually underlined all the passages that show an abusive relationship, Meyer's constant obsession with words like "chagrin," and other troublesome areas. I put the series on that shelf because there wasn't  enough room on the bookshelf for everything and I figured Twilight didn't deserve to be with the other books. But now the bookshelf is broken and the end table looks pretty, so I'm going to switch them out with Harry Potter.

And the lamp is new and I haven't decided how I'm going to improve it - I may not do anything with it. But it will need a light bulb eventually, I suppose. I haven't done anything with the second table yet, but it's definitely on my to-do list.

Anyway, to recap:


Tuesday, May 14, 2013

DIY Book Clock


One of my favorite blogs currently is The Burlap Bag. It's run by Lauren and Josiah, who are my personal heroes, and it's filled with life hacks, DIY projects, and really cute handmade items that you can purchase from their online shop. (They also have a brick and mortar shop, but it's located in Austin and I do not live anywhere near Texas).

They had a tutorial back in August about making a book clock, which caught my eye because I am an avid reader and I love the idea of decorating with books. I bookmarked it (onto...where else? Pinterest) for later use and finally decided to give it a shot a couple weekends ago.

The instructions are fairly simple, and all you really need is a book, a clock kit, a drill, a pencil, and an X-Acto knife (you can also use a box cutter). I purchased my clock kit from Jo-Ann Crafts for less than ten dollars, and I grabbed a book that used to be my mom's, but she doesn't re-read books often and it didn't look like the kind of thing I would read. My dad has a really nice drill, so I just headed over to my parents' to make the clock.

The first step is to drill a hole in the cover where you want the clock hands to go. I went with the a centered hole, but you can be quirky and rebellious and put it whatever (just remember, if it's too close to the edge, the hands will go over the edge). The Burlap Bag said to use a 1/4 inch drill bit, and that worked great.

Okay, you're going to have to forgive me, because I'm not used to taking photos during my everyday life. So I only had my iPhone and I forgot to take a picture of the book until after my dad had already drilled through the cover (Yeah, I don't think he trusted me to use his drill).

So, whatever, once the hole is drilled through the cover and a couple of pages, you open the cover and trace around the clock kit to see how big the hole needs to be. My dad also did that part. I think he remembers how bad I was at drawing straight lines when I needed to making a graph for my math homework.

Like any man worth his salt, Dad has a measuring tape permanently affixed to his hand.

Not to mention several pens, which I was constantly losing when I was younger.
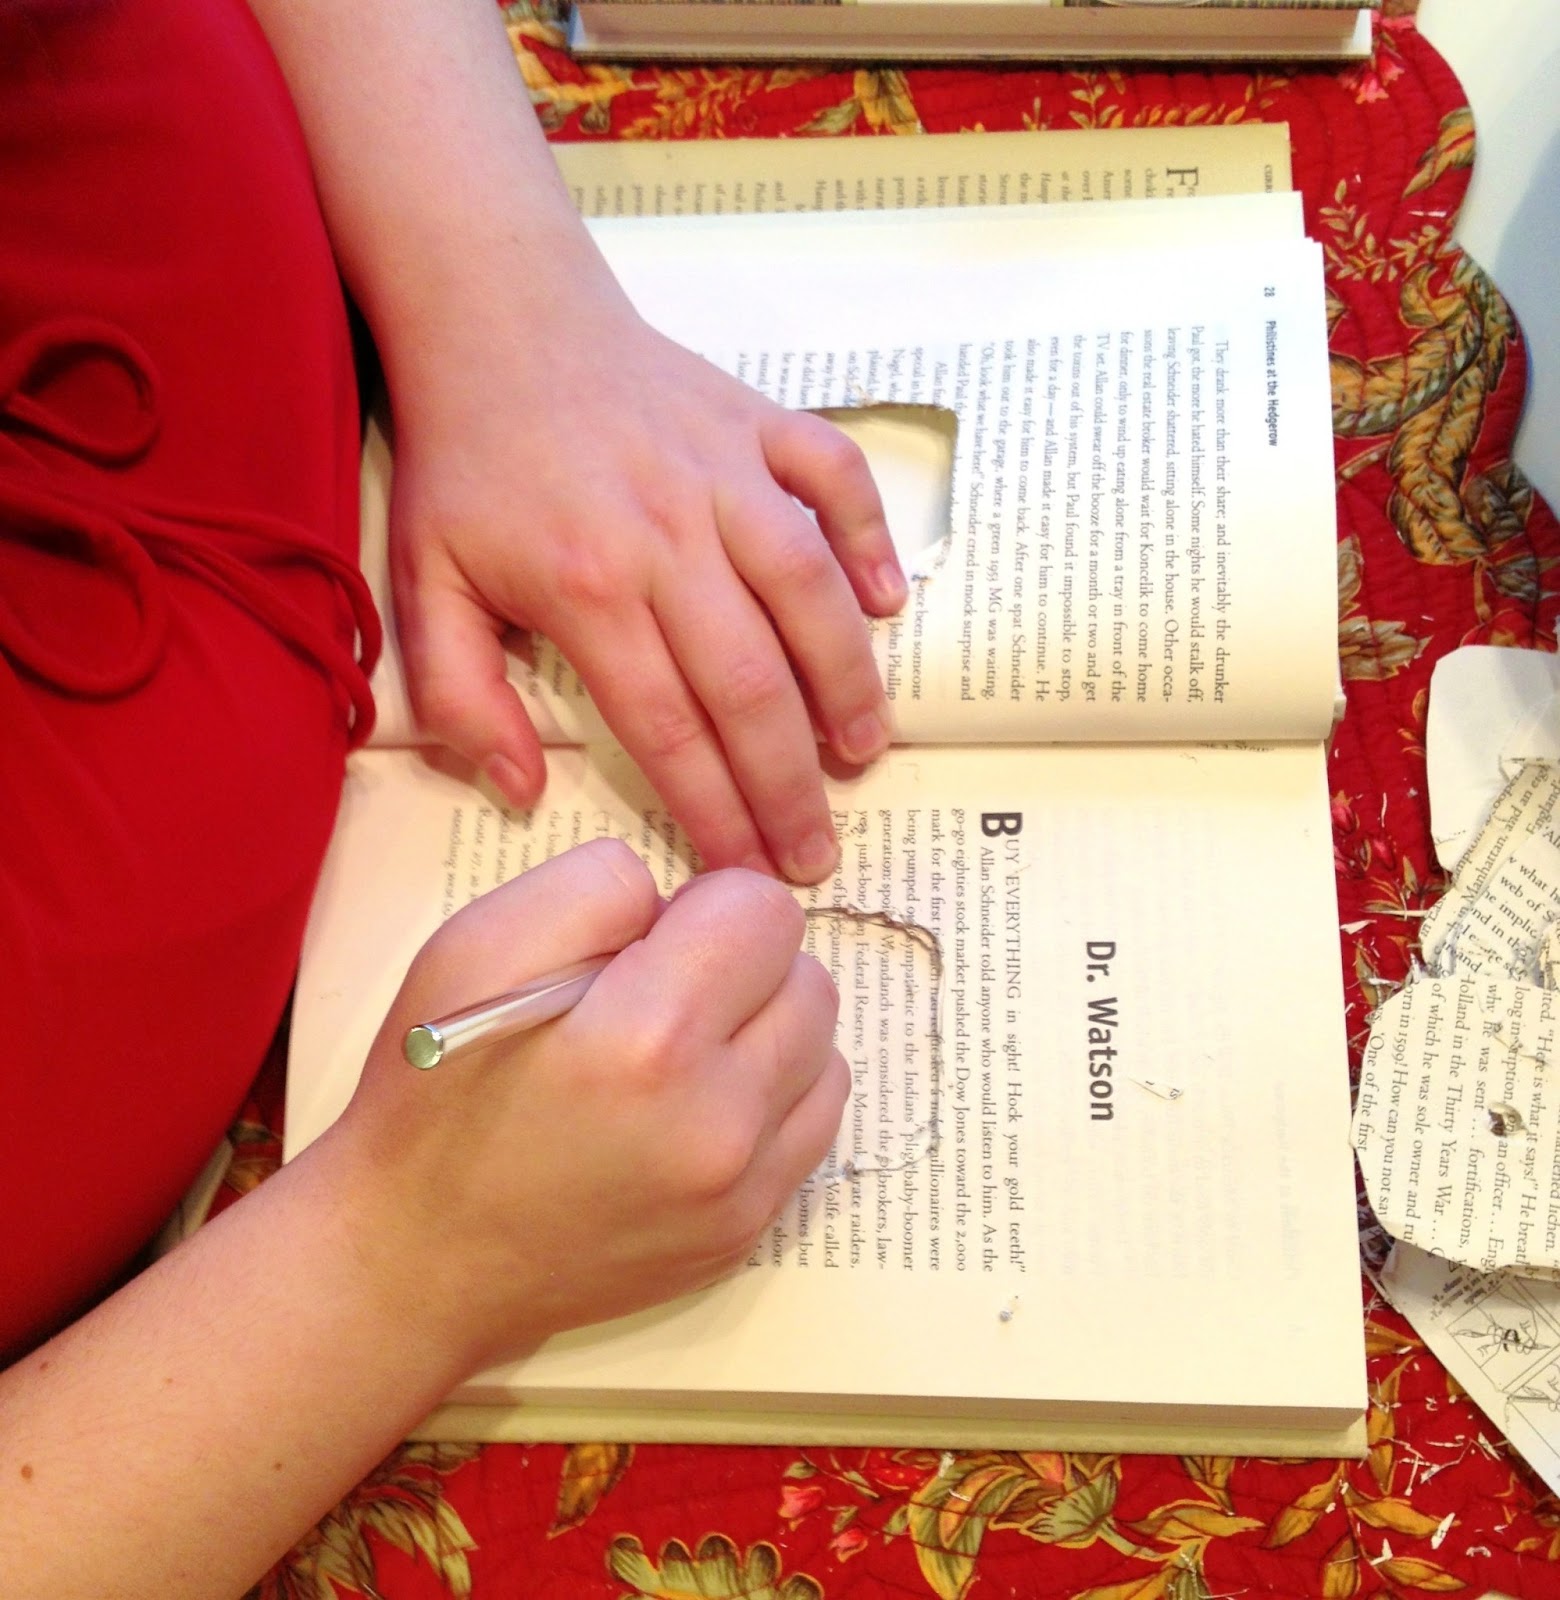
So once that's done, the real boring part fun begins! You get to cut out the pages using your handy X-Acto knife.

It takes...eh...roughly forever. I actually carved out more pages than I ended up needing, but that's better than cutting too few. And you will need to make the hole in the pages bigger at some point. Or at a lot of points. It does not need to look pretty.

When I got to this chapter, it occurred to me that I might have enjoyed reading this book.
Mom discovered that making the hole in the pages bigger would be easier with scissors. Good call, Mom!
So, once that's done, your clock kit should fit into the hole. It doesn't have to look pretty. It just needs to fit, and the sort of stubby bit of kit that sticks out should go through the hole in the cover.

Don't be worried if the book won't close all the way, which happened to me. It wasn't a big deal. I followed the directions on the clock kit, stood the book up, and found that you can't see the clock kit in the pages even when you're looking at it from the side. Of course, I didn't take any pictures from the side, so you're just going to have to take my word for it.

Ta-da! Finished!

I was originally going to bring it to my cubicle work, but when I got home I realized it would look awesome across from my punctuation bookends.

True story: I love ampersands.

The only sad thing is that the clock kit is flimsy, and my cousin/roommate owns a cat. A very curious cat. The cat was interested in the ticking hands, and bit them, and bent them. I removed the battery so that she wouldn't attack the clock anymore, but that means it's no longer a functioning clock. Alas.And the hands are still somewhat bent. Regardless, it looks pretty good! It was definitely a good family project.

Saturday, April 27, 2013

Springtime Fun - Mason Jar Herb Garden

I got up early this morning (well, early for me on a weekend) to plant a mason jar herb garden! I got the idea from Organic Authority, which is just filled with all sorts of awesome ideas.

I started from seeds, which I know is harder but it was also the cheaper option since I found a really good starters kit. And if it doesn't work, then I have a lot of leftover seeds, and if it never works, then I'll start out with a couple plants instead.

I just bought some patio furniture from Target the other week, and this was the first day where I had some time to sit out and enjoy the weather. It was very peaceful! I love that the weather is getting warmer but isn't unbearably hot. And we're due to have rain this weekend, which will wash away the pollen...temporarily.

I've never really grown any plants before. I had a basil plant once that was doing okay for a couple weeks until a roommate told me how to "improve it" (spoiler alert: it didn't improve), and I had an aloe plant that thrived for about a year or two. Sadly, one summer the plant got taken over by an ant colony while I was living in a dorm. Seriously, I picked up the pot and there was a massive colony, like eggs and everything, underneath and inside of it. I was completely freaked out and just left the plant outside the dorm when I moved out.

That probably would have been the last time I ventured into any kind of gardening, but I really like to cook. Sure, I go through periods when I can't stand the sight of the kitchen, but when I'm actually in the mood to cook, I have a great time with it. And I thought it would be excellent to have some fresh basil to mix in with my shrimp dishes, or oregano for pasta, and thyme for chicken. I've had fresh vs dried basil with shrimp Alfredo, and let me tell you, there is no comparison. I'm getting hungry just thinking about it!


I'll try to do something cute with the markers if the herbs actually do end up growing, but for now I figured there was nothing wrong with staying simple. And that's sand in the bottom of the jars, to help with drainage. No holes in the jar, which could be bad, but it seems like a lot of people were actually able to grow a garden without drilling holes on the bottom, so we'll see.

So there you have it: my potentially disastrous, but still fun to put together, herb garden!

Sunday, April 14, 2013

DIY Wooden Tray

I've been browsing Pinterest a lot lately for ideas about home decor, and this tray caught my eye:

It's so pretty, and it looked fairly easy to make, so I took a trip to Jo-Ann Crafts for supplies. Sadly I wasn't able to find any decorative paper long enough for the tray I found, but I also needed some assorted paints, so I decided I would just paint a tray instead!

I've never been good at crafting things, and I had an middle school art teacher who was shocked at my inability to complete even the easiest of projects, but the pictures on Pinterest just make things look so easy. That's how they draw you in....

First, I primed the tray with Martha Stewart Gesso Primer. I have no idea if this was necessary or not, but it seemed like a good idea at the time and I liked the way the primer looked, although I only applied one coat.

Look how much I'm getting done!

I was considering making zig-zag stripes, but I decided it would be simpler to stick with horizontal stripes for my first project. I taped off the part where I would put stripes and painted the rest blue. I waited for it to dry, taped off the blue parts and painted the green stripes.

The green stripes look yellow/green, but they're not yellow.

It was about this time that my good friend Courtney texted and asked if I wanted to hang out. Courtney is awesome at all sorts of artsy things, so I invited her over and she brought some of her own supplies. We watched a terribly frightening movie and three episodes of Doctor Who, feasted on pizza, and she decorated a mug with rhinestones while I completed my tray.

It's practically a battle zone.


Again, the stripes look yellow...but they're not.
See? It's green. Not yellow.

I used the Martha Stewart pearl green acrylic paint for the exterior/interior walls and white acrylic paint to trim the top. I had been using regular painter's tape until this point, but switched to this really tiny tape (again, Martha Stewart) for the trim.

Once all that was said and done, I removed the tape and did some touch-ups.

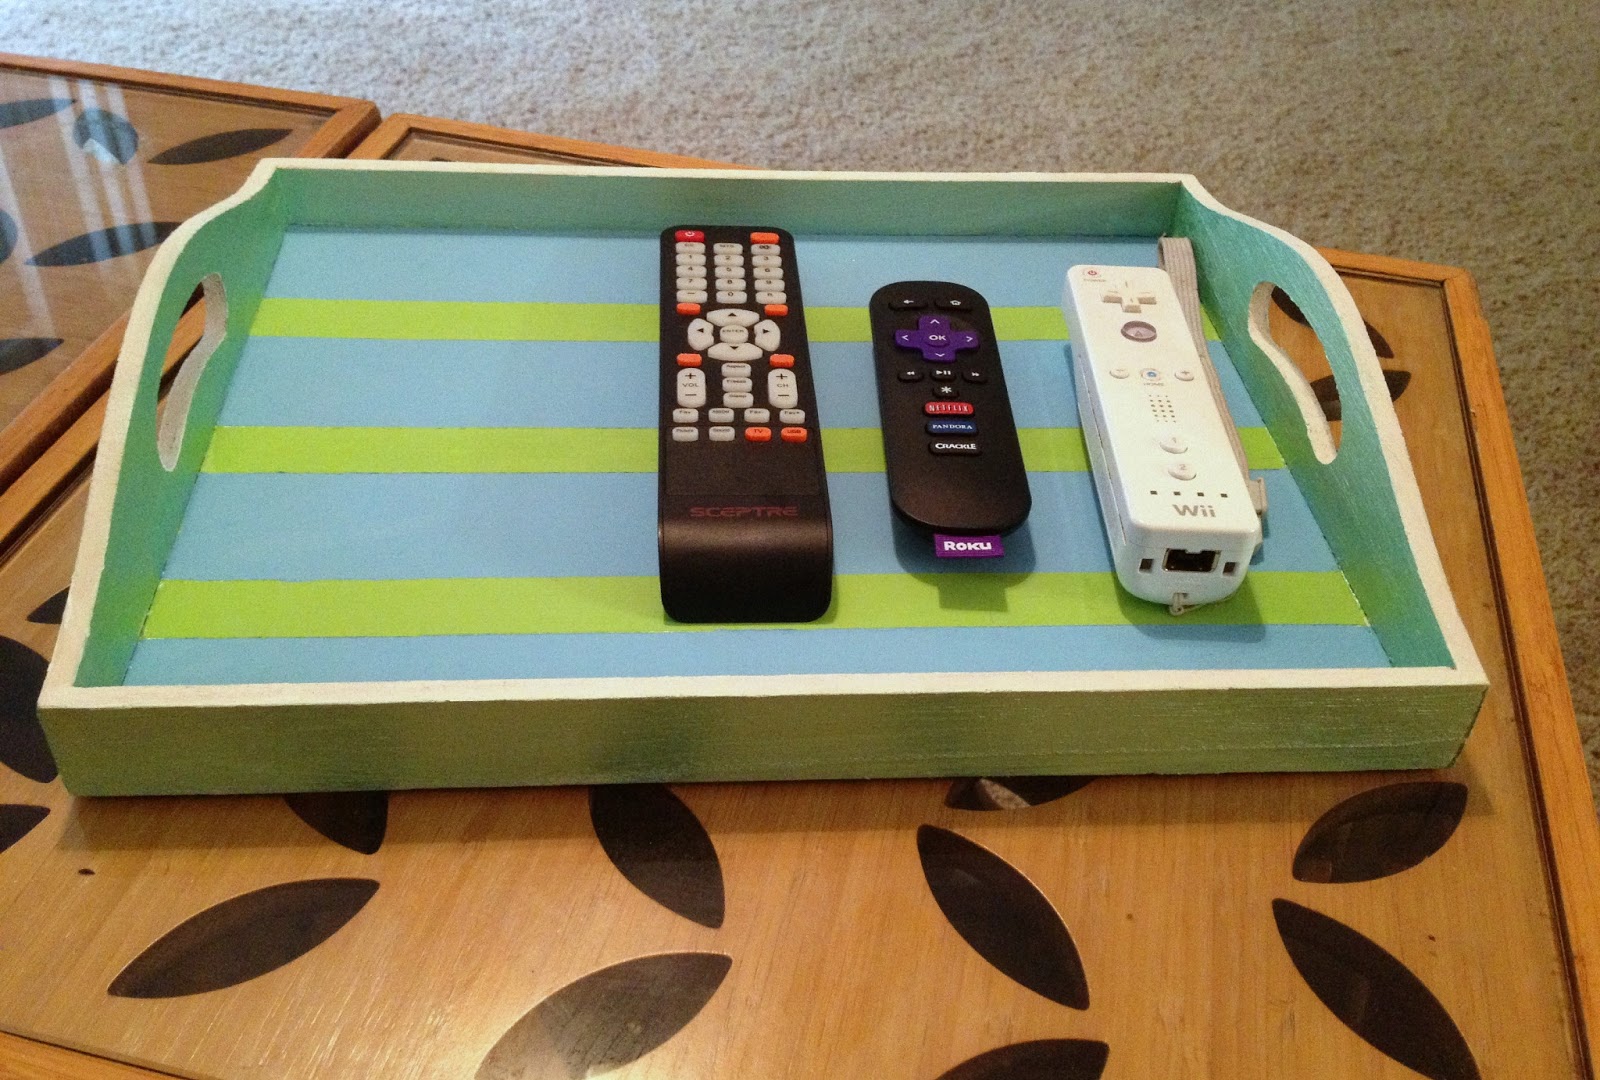
I think the whole thing turned out extremely well. Not perfect, exactly, but way better than I could have hoped.


I'm going to use the tray for craft shows to display my handmade bath & beauty products, but in the meantime it's going to sit on the little tables in the living room, and maybe now I won't constantly lose the remotes.

Maybe.